
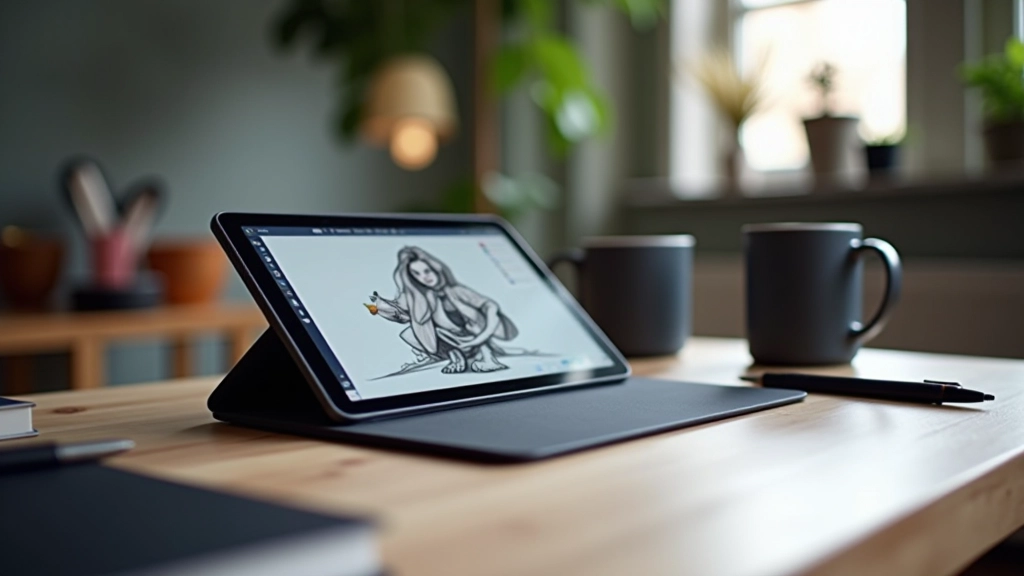
Vector vs. Raster: Which Should You Learn First
Both have their place. We break down what each does best and why starting with raster might be the better choice for beginners.
Pressure sensitivity, driver settings, and workspace tips. Most beginners skip this — don't make that mistake.
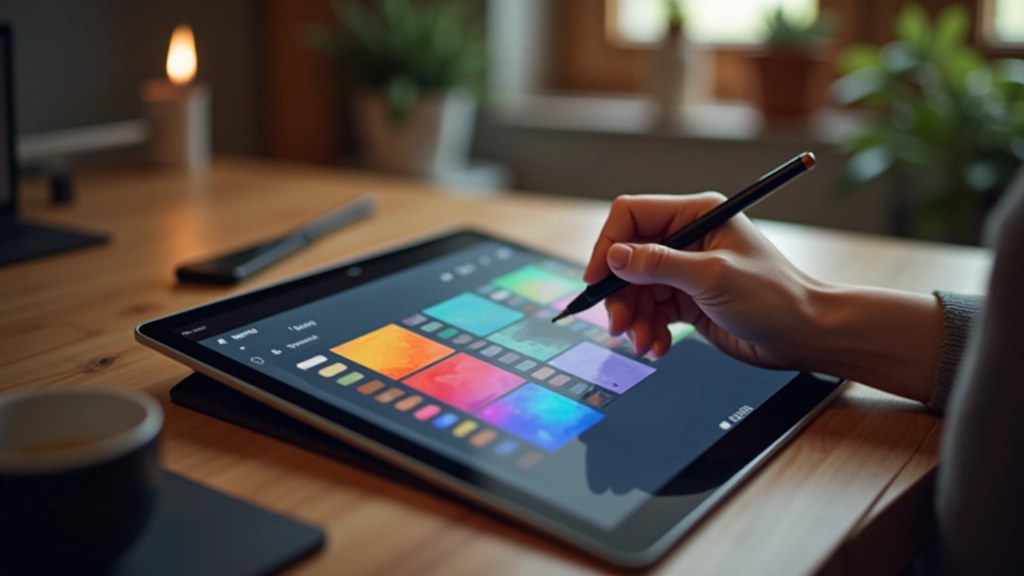
You've just unboxed your new tablet. It looks great. You're excited to start drawing. But before you open your favorite app, there's something important to handle first — your tablet setup.
Most people skip the setup steps and jump straight into drawing. Then they wonder why their lines feel weird, their pressure doesn't respond correctly, or their hand position feels uncomfortable. It's not the tablet. It's the setup.
We're not talking about anything complicated here. It's basic stuff that takes maybe 20-30 minutes. But it changes everything about how your tablet feels and responds. Let's walk through it.

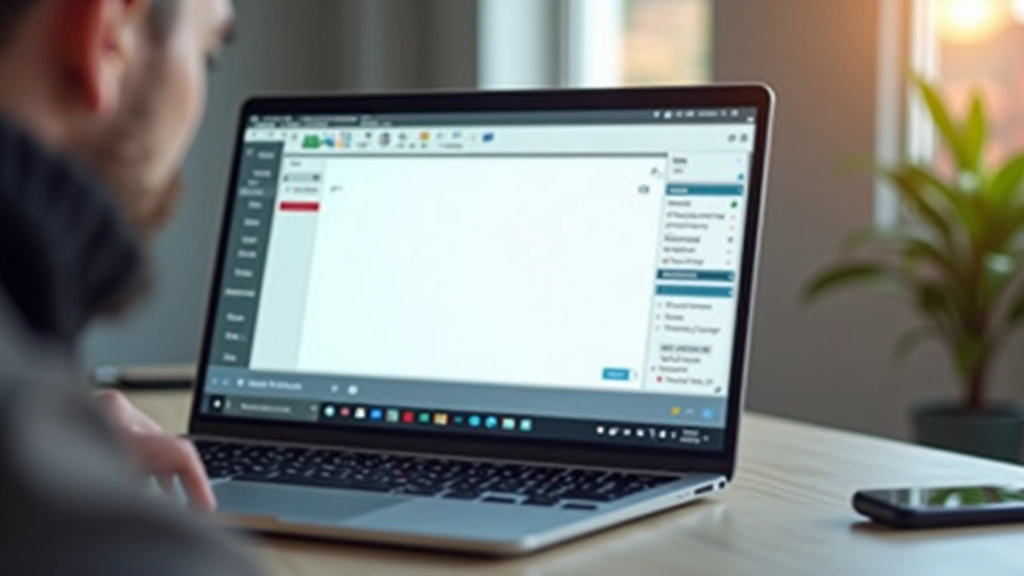
This is the foundation. Your tablet won't work properly without updated drivers. Don't skip this part.
Go to your tablet manufacturer's website. Find the drivers section. Download the latest version for your operating system. Install it. Restart your computer. Yes, the restart matters — it lets the driver fully integrate with your system.
Most driver issues come from using old versions. If you installed your tablet six months ago, check for updates now. Manufacturers release driver updates regularly to improve compatibility and fix bugs.
Pro tip: Bookmark your tablet manufacturer's support page. You'll need it again if you ever upgrade your operating system or get a new computer.
Pressure sensitivity is what makes a digital tablet feel natural. When you press harder with your stylus, the brush stroke gets thicker or darker. But it only works if you configure it correctly.
Open your tablet's driver settings. Look for "Pressure Sensitivity" or "Pressure Curve." You'll see a diagonal line on a graph. This line controls how your tablet interprets the pressure you apply.
The default setting works for most people. But everyone's hand pressure is different. If you press lightly and nothing happens, move the curve up. If small touches create huge strokes, move the curve down. Test it by drawing a few lines. Adjust until it feels natural.
Open tablet driver settings (usually in Control Panel or System Preferences)
Find the pressure curve adjustment
Test with drawing strokes in any app
Fine-tune the curve until it matches your natural pressure
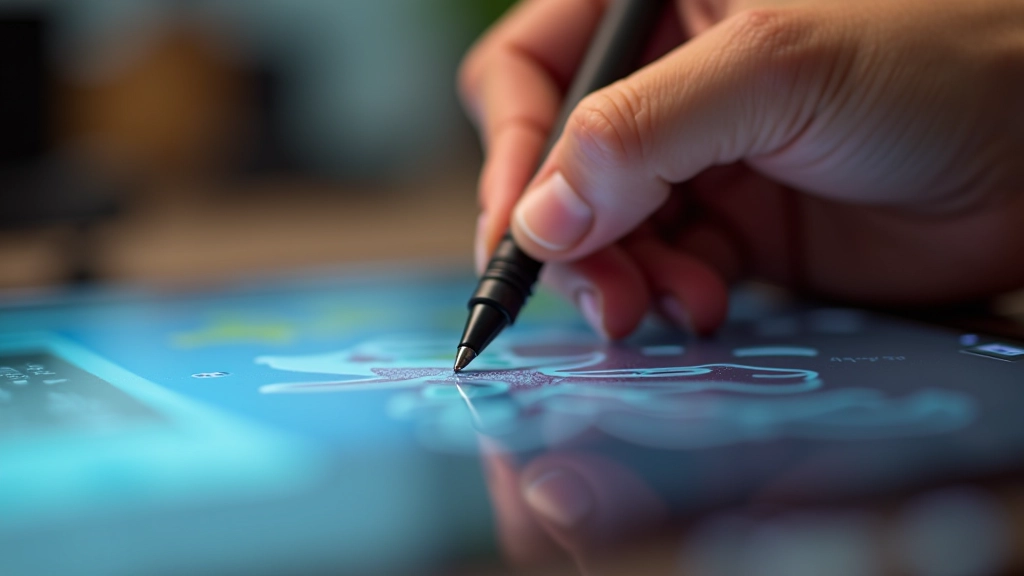

Your tablet's position and your chair height matter more than you'd think. Bad positioning leads to wrist strain, neck pain, and fatigue. Good positioning means you can draw for hours without discomfort.
Your tablet should sit at about 20 degrees from horizontal. Not flat on your desk. Not vertical. Somewhere in between. This angle lets your hand move naturally without twisting your wrist. Most tablets come with adjustable stands — use them.
Your chair should support your lower back. Your elbows should rest at about 90 degrees. Your monitor or tablet should be at eye level or slightly below. If you're hunching forward or craning your neck, adjust something.
Lighting matters too. You want light from above or to the side — not glare on your tablet screen. A desk lamp works fine. Just avoid shadows falling on your drawing area.
Most styluses have buttons on the side. By default they might do nothing, or they might be assigned to random functions. You should customize them to match your drawing workflow.
The most common setup is: one button for undo, one button for eraser. This way you don't have to reach for your keyboard while drawing. You can keep your hand on the stylus and your other hand on the tablet.
Open your tablet driver settings again. Find the button customization section. Assign each button to a function you'll actually use. If you don't draw with an eraser much, don't waste a button on it. Use it for something you do constantly instead.
Suggestion: Try undo on one button and redo on the other. Or undo and zoom. Experiment for a week and adjust if it doesn't feel right.
This isn't the fun part of digital drawing. Nobody gets excited about drivers and pressure curves. But it's the part that determines whether your tablet feels natural or frustrating.
Most beginners spend weeks struggling with their tablet because the setup is wrong, not because they lack skill. They think "Maybe digital drawing just isn't for me." Then they get a new tablet, set it up properly, and suddenly everything clicks.
Spend 30 minutes on setup now. You'll spend hundreds of hours drawing after that. It's the best investment you can make in your digital art journey. You're not wasting time — you're removing obstacles so you can focus on actually improving your art.
Learning note: Individual learning outcomes vary from person to person. Your tablet experience depends on your specific device, operating system, and personal preferences. These guidelines are general recommendations that work for most people, but you may need to adjust based on what feels natural for your hands and workflow.

Editorial Team
Written by the cardothos editorial team, focused on clear, practical guidance for beginner digital illustrators.
Both have their place. We break down what each does best and why starting with raster might be the better choice for beginners.
You don't need to understand every color model. These three principles will fix most of your color choices.

A step-by-step breakdown of how professionals organize their layers, manage files, and move from sketch to finished piece.